

Let's get straight into it, shall we?
DAY ONE: GETTING CLEAN.


There were signs of either long washing intervals or very quick washing style that didn't pay much attention to detail as every detail on the car was full of hardened debris. Nothing Jaffa and/or Cleanse STRONG didn't find too difficult though. This section rejuvenated with both the aforementioned products, one after the other.
aaaaaaaand, freshness :)
More cleaning, we're getting down to minute details now. Dirty rubbers rejuvenated with Jaffa and a soft toothbrush, not only do they look better, but they feel gummy and super clean, as new :)
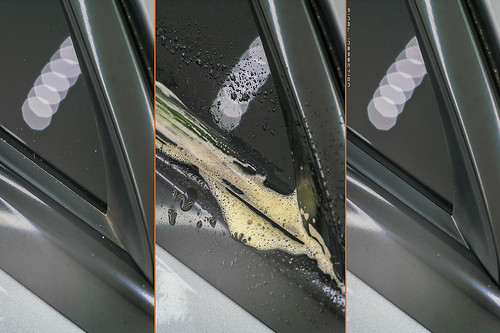
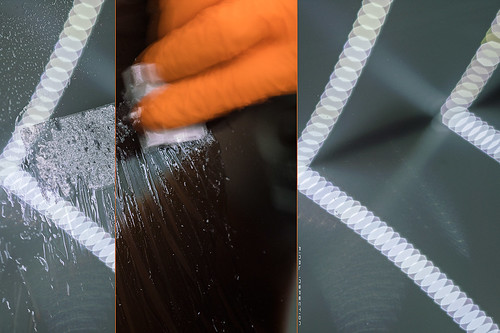
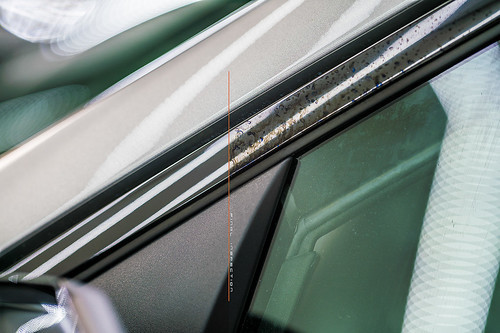
More detailing, such as this sticker residual were removed with Cleanse STRONG, a very sharp blade and a step two glass cloth (light green). We used the same process for white paint pen marking all over the glasshouse, especially the front screen.
Sadly the exhaust 'tips' that were cleaned with Wheel Clean, then Jaffa, then polish, 0000 grade steel wool and finally a brass bristled brush and still wouldn't come good, were left with the ugly baked-on carbon deposits.
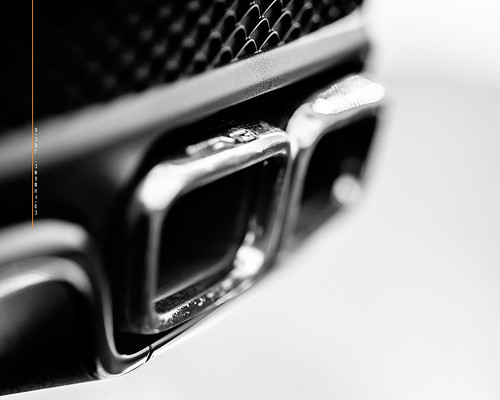

We hate it when the car beats us :(
DAY TWO: DECONTAMINATION AND DETAIL CORRECTION.
We're now Erasing what felt like over-spray before we got started, however, looking at the contents in the lubricant, it just seemed to be a heavy build-up of general contamination, possibly from sitting in a yard or from the lack of regular washing we had evidence of earlier. It could also be from the area the vehicle frequented or all of the above. Either way, we were in for a fair bit of decontamination removal on this particular job.
Every surface required heavy decontamination, about 3 hours in total, that's about 2 hours more than we usually spend decontaminating.
Watermark Removal on anodised trim, correction was CAP Heavy + 90mm White SHD via rotary polisher.
Acrylics. These are important so we're onto correcting these before the paintwork. They look a little grey and flat and just generally old and worn looking.

Using Lucian enables us to easily see what is responsible for the lack of gloss, all those imperfections.
Closer...

Correction of these imperfections was achieved with 2 passes of CAP Heavy on a 90mm White SHD via rotray, then a single pass of CAP Ultra Fine on a 90mm NanoFibre pad via Velvet Revolver plus a final, quick pass, by hand, with a Hand Pocket Applicator + CAP Ultra Fine. A trick here is to use Lube (undiluted) to remove the polish instead of Paint Cleanse as Lube contains more lubrication than Paint Cleanse, or, a mixture of both. On paintwork we wouldn't recommend this, but these are a super, super soft material that marks VERY easily and you'll need all the help you can get when removing (wiping) abrasive dust from the surface. Another tip is to use compressed air to clean the surface before and as you wipe down.
More acrylics, because this was where the transformation really happened, making these black plastics look good really made the car pop. The contrast of dark blacks and sharp metallic grey makes for crazy good presentation. To set it off the car has matte 50% grey livery running down the lower thirds. RUDE! Great job Benz.
Correction, again, was 2 passes (via rotary) utilising CAP Heavy & 90mm White SHD, then a single pass with the Velvet Revolver & CAP Ultra Fine on a 90mm NanoFibre pad + a final quick pass, by hand with a Hand Pocket Applicator + CAP Ultra Fine.

Come in a little closer for a before and after...

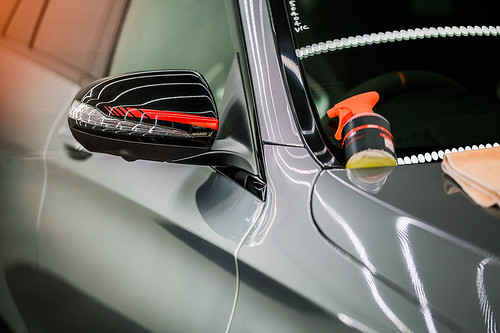
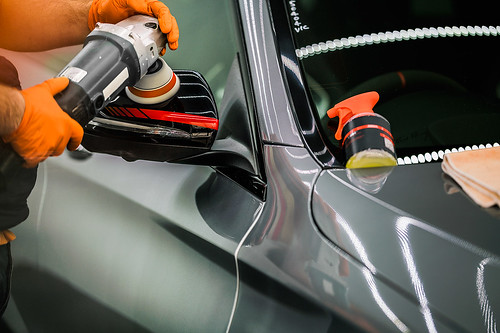
You may just be able to see the triangular plastics marrying the wing mirrors to the A pillar. Those were also etched and were also fixed with a combination of Jaffa and a soft toothbrush followed by Paint Cleanse to remove any residual Jaffa.
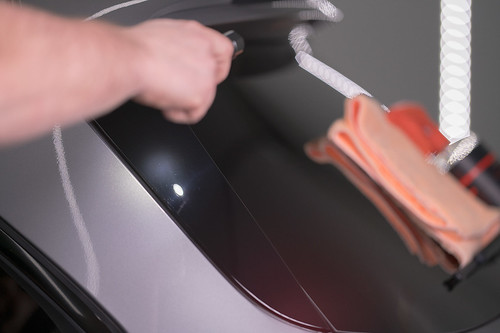
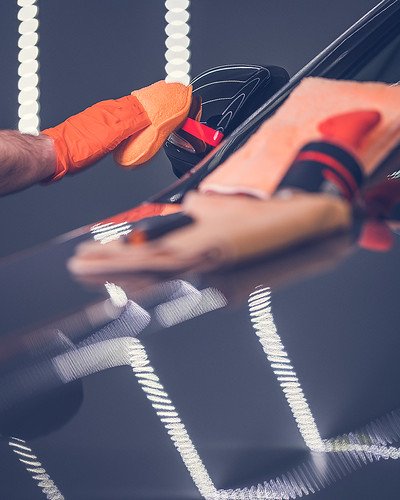
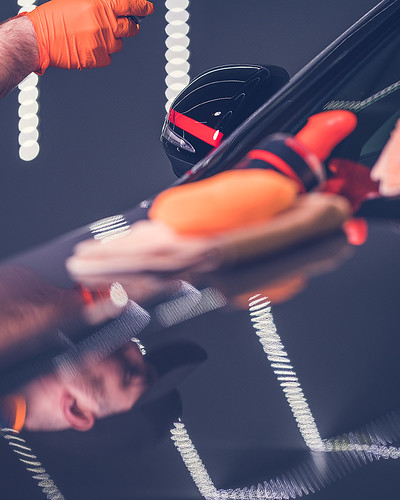
Handy work. Finishing these super soft areas gently by hand pays off. It's only 2-5 minutes per section and really makes a difference. A rotary and foam pads leave trace marks, an RO + NanoFIbre leaves significantly less, but NanoFibre by hand leaves almost nothing behind and that means depth and glossy. A richer, blacker, deeper, jelly-like lustre that is actually arousing, but we digress...
Lucian says she's good.
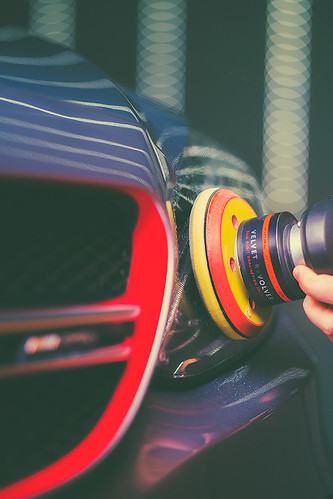
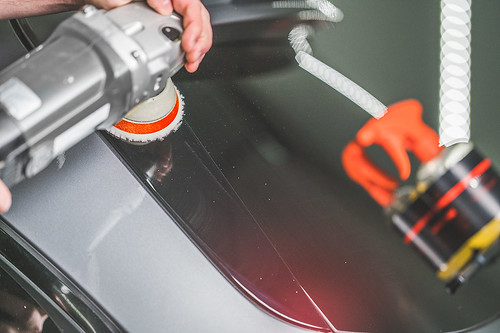
Acrylics again, lots of careful rotary work with The Exxtender and a White SHD, the pad flattens out quite a lot when it's spinning at 3000rpm (centrifugal forces and such) even though it appears completely still here (Bespoke says this is due to the 'fast flash sync' used), all of the images here have spinning pads that will appear without motion, this is the reason if it was bothering you! It's cool to see the cross cutting we've had in our pads since 2009 doing its job of moving air around the foam to attempt to maintain cooler surface temps.
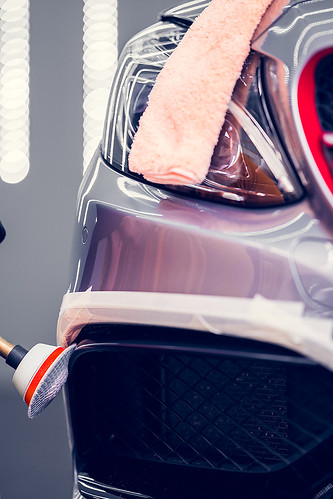
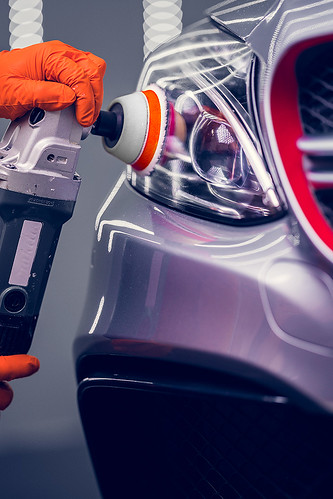
All polycarbonate (headlight lenses) received a quick lick, just enough to remove the watermarks and recover some of that new car clarity without digging into the coating these have which must not be removed. Never purposely remove a headlight coating if it hasn't failed, it has been applied to protect the polycarbonate from UV which very quickly yellows.
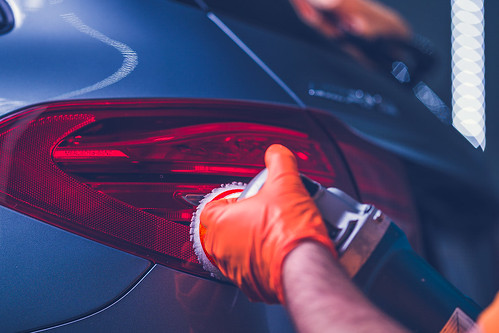
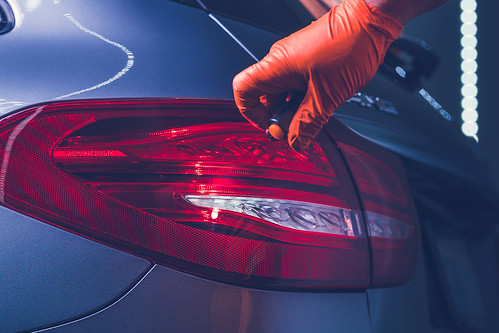
More acrylics again. So soft, so messed up :( These are also important and need to be perfect in our opinion. Every time we see the car in front of us at night, we notice all the imperfections in the rear of the car, usually the acrylic tail lights are swirled up and this makes a car look tired.

Correction was 2 passes with the rotray & CAP Heavy + White SHD 90mm, then a single pass with the Velvet Revolver & CAP Ultra Fine on a 90mm NanoFibre pad.
Lucian says we're perfect and ready to seal :) The extra time spent here for perfection was worthwhile.
DAY THREE: PAINTWORK CORRECTION AND ASSORTED DETAILS
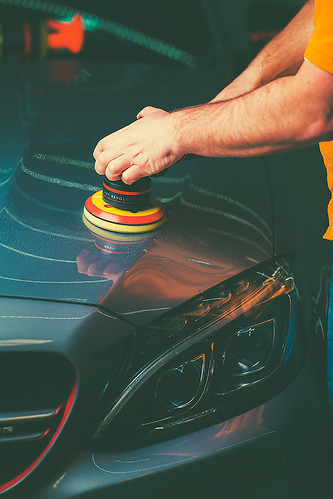
Next was paintwork correction, 'just' our standard 2 stage consisting of CAP Heavy on White SHD and CAP Ultra Fine on a Black LD, both stages via rotary for the efficiency and gloss on a rotary (in very skilled hands) can achieve, if you've read our blog posts before, you've seen this a million times, we won't frustrate you again with the details.
Wheels off and Jaffa applied virtually everywhere, we spray it consistently across the carpeted liner and agitate with a big, soft split-bristled brush and steam clean these wheel arch carpets so they're much cleaner and appear darker, it makes a difference when they are new looking and don't have that clean-but-not-clean-enough brown tinge to them that taints otherwise perfect curbside appeal.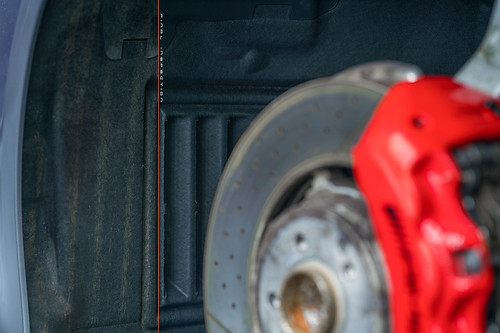
Tyre clean with Jaffa and a nail brush, a fair bit of time spent here as we didn't want to coat the tyres in anything, just that clean new rubber look. The entire tyre was cleaned, both sidewalls and tread. Clean tyres and wheel arches make for a sharper look. We prefer a non tyre dressed look when the tyres are on black wheels, what do you think?
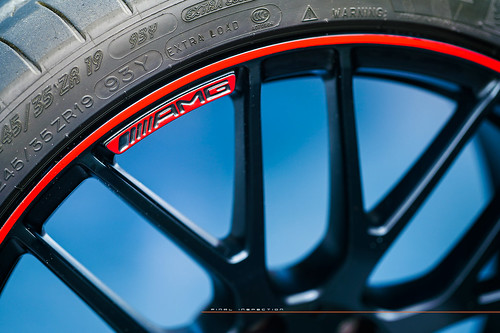
Complete, but no sealant yet. Look at those wheels and tyres -lookin' new again :)
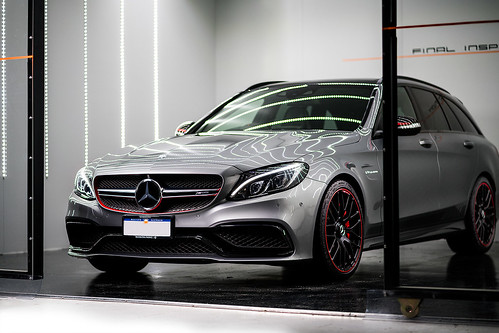
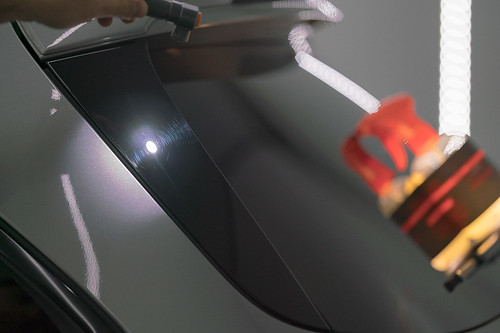
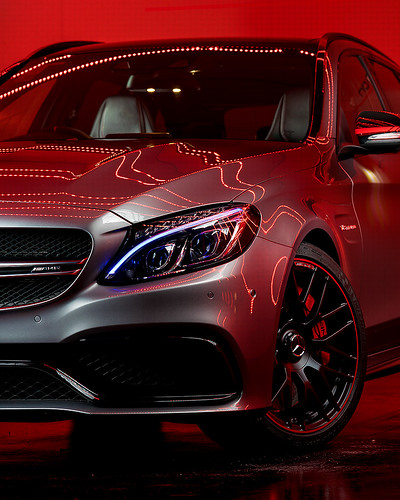
Complete, without protection. Naked baby, naked. Would you check out that gloss‽
Gloss gloss baby :) Still naked, stunningly clean and sharp looking with a more suitable red and black colour theme :)
DAY FOUR: PAINTWORK CORRECTION AND INTERIOR.
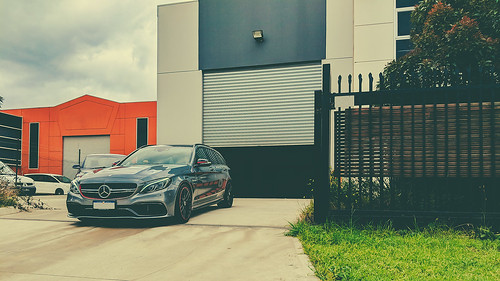
Day four was finishing off paintwork correction and sealing with Full Metal Jacket Paint Protection, then accelerated curing in #TheCleanroom and day five was collection by the seemingly ecstatic customer who couldn't get it onto tarmac fast enough :)
Thanks for taking a look at our hard work this week, we hope you've enjoyed the process.
To have your ride detailed by the best, contact us. To support us, purchase anything from this site :)
Image credit: Bespoke Imaging.
Comments
2 comments
Peter Huxley
Appreciate that you share the detailing process, and the sequence of steps taken and products used. In particular that on occasions you do use other products that best suit the purpose intended. We, as ‘car cleaning punters’ really do appreciate that you share your skills with us so that we can continually seek to improve our car cleaning methods.
Again, thank you for sharing.
Cheers
Peter Huxley
NSW
Big jim
Thanks for that detailed description I even took a couple of things from that thanks again big Jim