

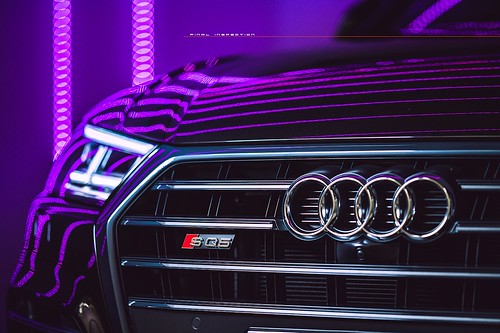
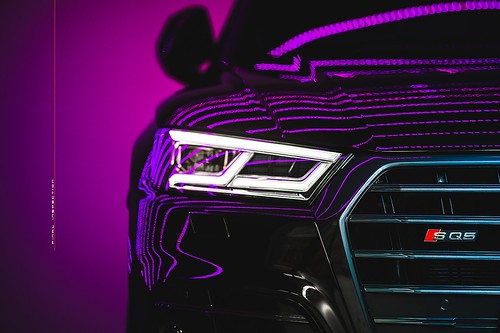
Almost new, but looking just a tad tired in some sections, this SQ5 in the brilliant Panther Black required a dual stage, single pass correction, a heavy cutting stage to some very localised areas with CAP Heavy and a 90mm White SHD (Super High Density) pad and a second stage which was a very quick going over with CAP Ultra Fine (Jewellers Rouge) on a 135mm Jewelling Pad in some larger areas to bring it back to factory fresh before applying Full Metal Jacket Paint Protection.
Firstly a wash, as usual, special attention paid to the quite large red calipers inside those slightly fiddly wheels. The calipers had stickers on them, we've seen dozens of SQ5's and all have had these stickers left on to bake. Shudder.
We move the car forward about a foot to give the wheels a 180 degree turn, this way the calipers are on the other side of the wheels now and we can get a good look behind them and see if we've cleaned behind them properly. We hadn't, so a quick second go at removing some residual and the wheels are done.
Next! Body wash, with Body Shampoo of course, whilst the shampoo was sticking to the front bar, we applied a little Jaffa on the to help soften some baked on smashed up bugs. A high pressure rinse and all is clean. Dry with Waffle Weave and compressed air then through to the workshop for decontamination.
The body wasn't rough, but there was contamination built up on it, so we hit it with an Eraser on a Velvet Revolver, speed 5. This is the mechanical decontamination step, we hit the paint and glass with it and follow this with a chemical step using Cleanse STRONG which mostly targets tar and finally Paint Cleanse. Cleanse STRONG is a residual cleaner, which means it leaves behind traces of itself, we don't want that. Paint Cleanse is non residual, so our surfaces are squeaky clean.
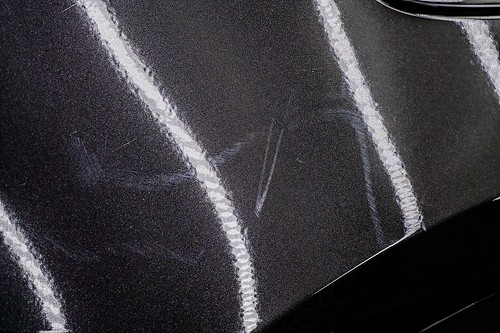
Now that we have a good foundation, its search and destroy. Gotcha, looks like rubbing marks near the petrol tank filler flap.
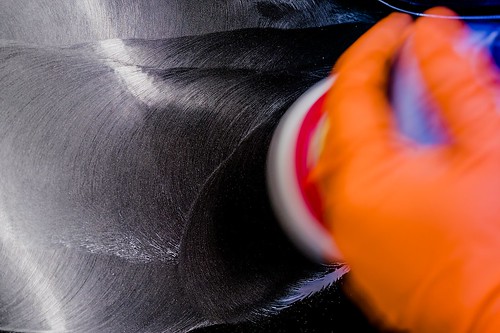
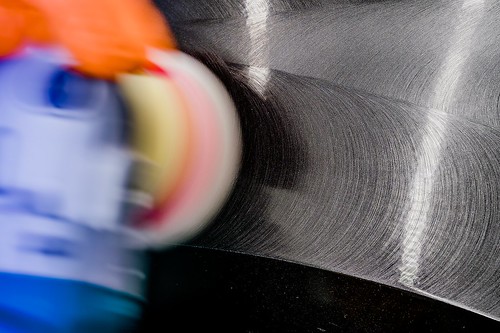
Detail Stig attaches a 90mm White SHD (Super High Density) foam pad to his favourite rotary polisher, adds 3 pea sized dots of CAP Heavy to it and attacks at a crawl quickly building to sustain an almost 2,000 rpm limit for about 30 seconds before releasing the trigger as he leaves the surface.
The attack, sustain and release phases of correction are explained in an older but still very informative video, here...
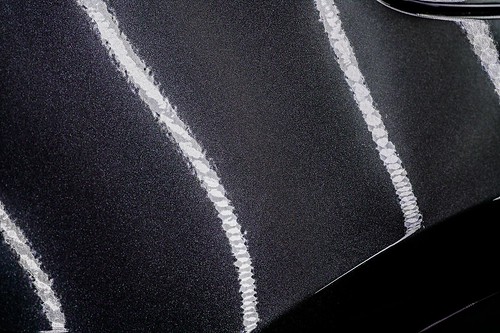
Presto. Perfect paintwork.
Search...
and destroy...
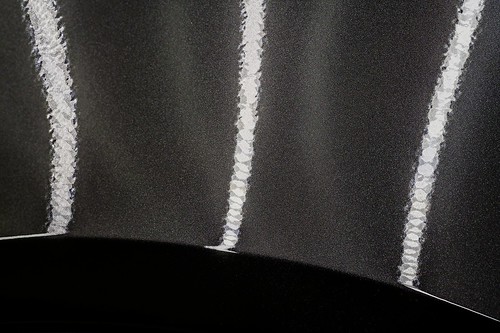
Search...
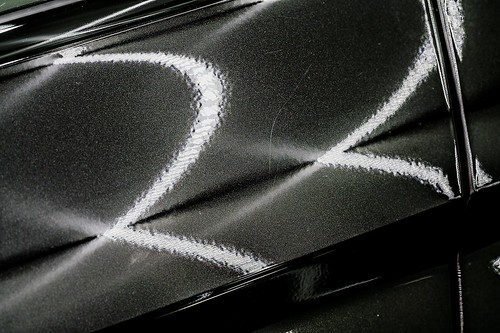
and correct...

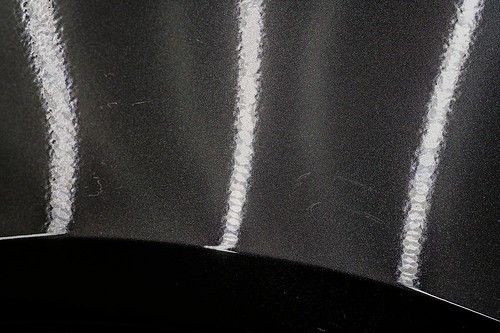
You get the picture.
This brings us to a finish worthy of sealing with Full Metal Jacket Paint Protection, applied like so in another older but still current instructional;
Before sealing we apply tyre dressing, re-clean the surfaces with Paint Cleanse to rid any polish residual, dust, oils from our hands, tyre dressing overspray (especially wheels) -everything is wiped down and with that we have a fresh, shiny, crisp Panther Black SQ5.
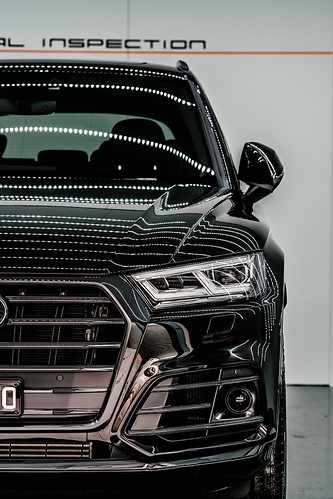
She's now ready for a Panther themed Bespoke Imaging photo shoot, a bake in #TheCleanroom overnight and finally collection.


This vehicle slept over for two nights, so we applied a coat of Full Metal Jacket Spray Wax atop the Paint Protection for extra slickety slick on the third day, just before collection.

We hope this has been as enjoyable to read as it was to carry out! :)
Comments
0 comments